Working with Items
This page provides step by step instructions for how to:
- View an item using the admin interface
- Add a new item
- Edit an existing item
- Duplicate an item
- Delete an item
You might also be interested in how to:
View an item
Most of the time you'll view items using the public interface, but sometimes you'll need to use the admin interface to access features that are only available to archivists.
Get to the admin item page
You can get to an item's admin page from four places.
- Public item page
-
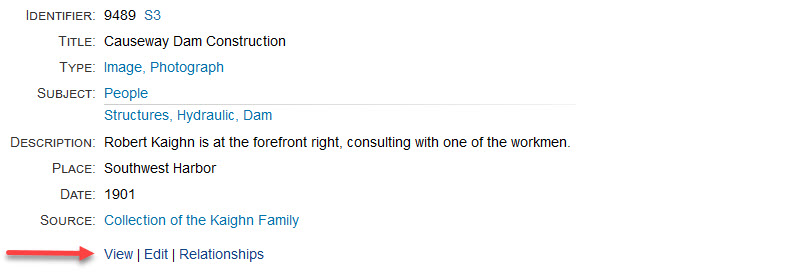
When on an item's public page, you can view (or edit) the item in the admin interface with one click using the quick access links that display after the last metadata item (red arrow below). These links are only visible to archivists and administrators. You must be logged in to see them.
- Search results
-
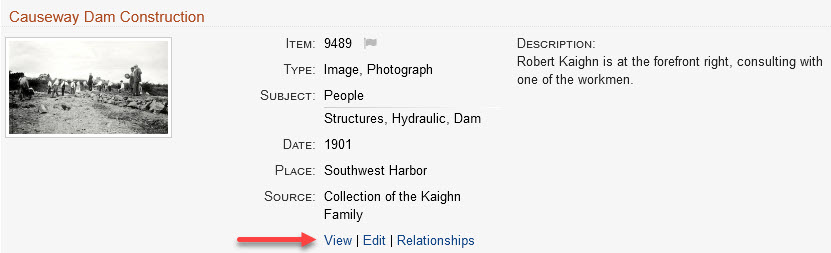
The quick links also appear when viewing search results (red arrow below).
- Flagged Items page
-
The quick links also appear on the Flagged Items page.
- Dashboard page
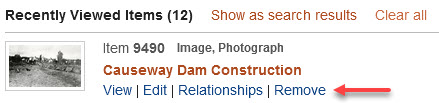
- When on the Dashboard page, you can view a recently added or modified item in the admin interface by clicking the item's title. You can edit the item by clicking its Edit link.
Admin item page features
A screenshot of the admin page for item 9489 appears below.
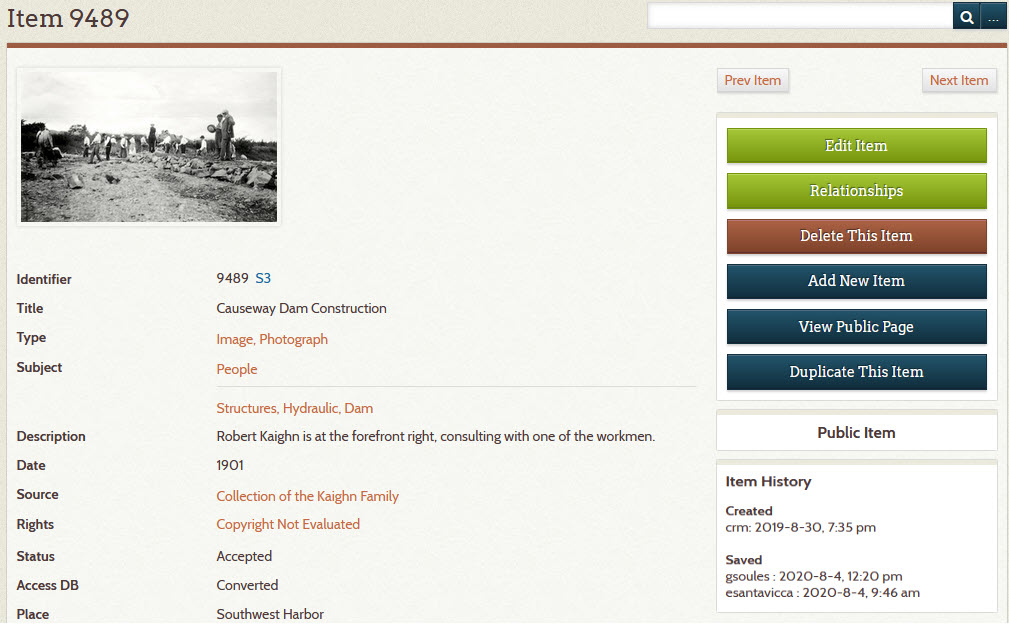
The admin page has these features:
-
Buttons you can click to:
-
A history of:
- Who created the item (
crm) - Who has since worked on the item (
gsoulesandesantavicca)
- Who created the item (
-
When AvantS3 is installed, an S3 link appears next to the item's Identifier. The link provides one-click access to the item's archival assets on your Amazon AWS S3 server.
Add a new item
Follow the steps below to add a new item.
- 1 – Go to the Add an Item page
-
There are two ways to get to the Add an Item page:
- If Add item appears in the black menu bar at the top of the page, click that link, or
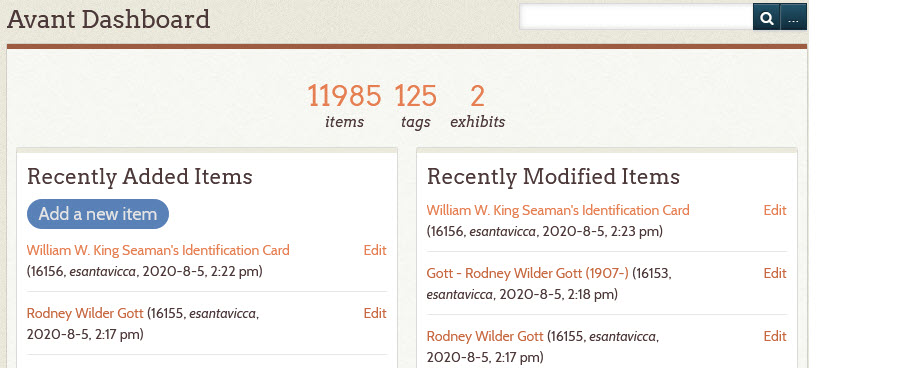
- Click Dashboard in the left admin menu, then click the blue Add a new item button
-
You will see a page similar to the screenshot below.
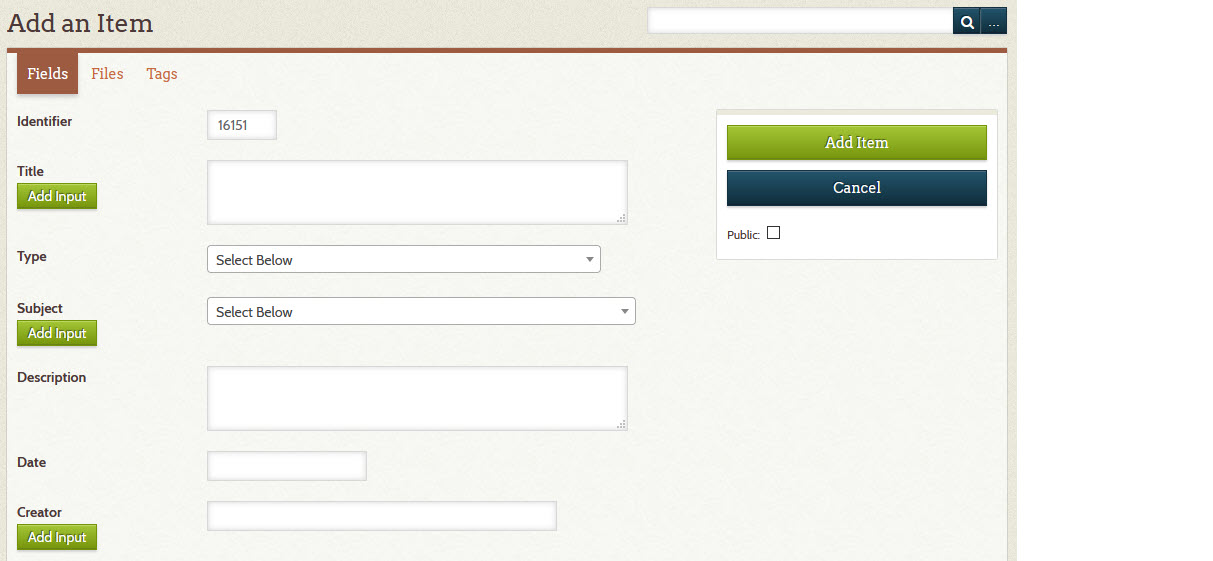
- 2 – Fill in the required fields
-
Most Digital Archive sites require you to fill in the following fields:
- Title
- Type
- Subject
Learn about best practices for choosing titles and subjects.
Notes:
- Which fields are required is determined by the administrator.
- The Identifier is filled in automatically for you - do not change it.
- Use the Add Input buttons to add additional fields as needed.
- 3 – Fill in optional fields
-
Fill in any additional fields that you have information for.
For tips on filling in fields, see the next section on how to edit an item.
- 4 – Choose to make the item public or private
- Check the Public box under the menu on the right to make the item public,
or leave it unchecked to keep it private and viewable only by archivists and administrators.
To learn about public and non-public items, see the section on what gets searched. - 5 – Click the Add Item button
-
When you click the Add Item button, your item will be added to the Digital Archive.
If you leave any required fields blank and click Add Item, red error messages will appear at the top of the page as shown below. Provide the missing information and try again.

- 6 – Review the new item
-
After you add the item, you will be on the admin item page.
Verify that the information you entered is accurate and complete. To learn how to
change or add information, see the next section on how to edit an item.
Edit an Item
Follow the steps below to edit an item.
- 1 – Go to the Edit Item page
-
See the instructions above for how to get to the admin item page. Those instructions will tell you all the ways that you can get to the Edit Item page with one click.
A screenshot for the Edit Item page is shown below.
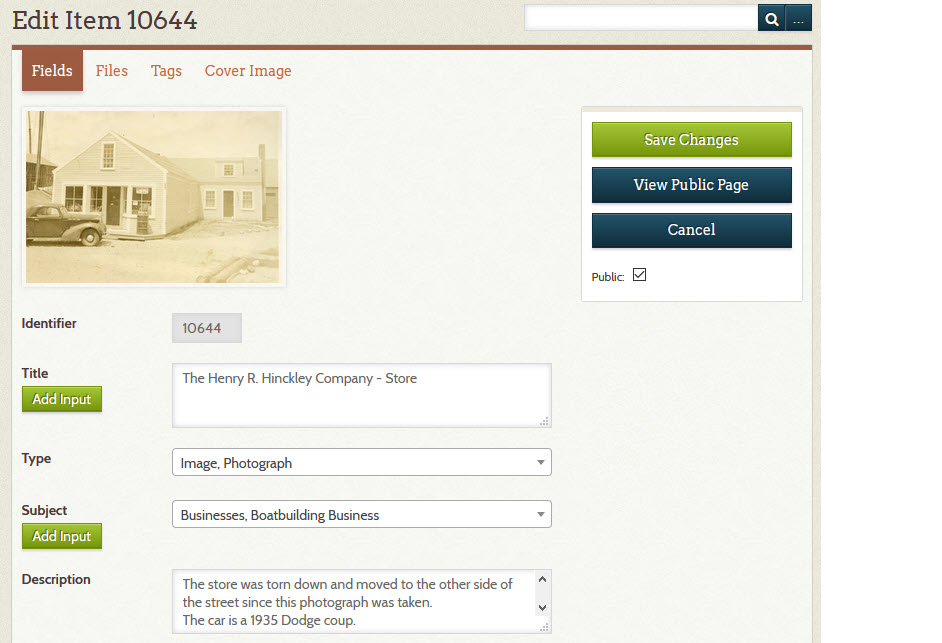
- 2 – Make your changes
-
Edit any of the fields on the page that you want to change.
Learn about best practices for choosing titles and subjects.
Tip #1: Quickly find vocabulary terms in the Type, Subject, and Place dropdown lists by typing into the search box that appears when you click on the field's dropdown. In the screenshot below, typing
negdisplayed three choices containing the wordNegative. Click on a choice to select it.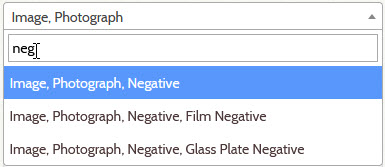
Tip #2: If the term you are looking for does not appear in a field's dropdown list, you can use the Vocabulary Editor to add the term to your site's vocabulary for that field. The new term will show up in the list the next time you go to the Edit Item page.
Tip #3: Type into the Creator field to get suggestions based on the names of creators in other items. In the example below, typing
randin the Creator field brought up four suggestions that were found in the Creator field of other items. Click on a choice to select it. This suggestion features works for other fields too, but they must be configured in the Suggest option of the AvantElements configuration page.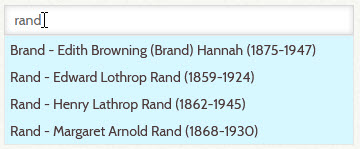
- 3 – Click the Save Changes button
-
When you click the Save Changes button, your item will be updated in the Digital Archive.
If you leave any required fields blank and click Save Changes, red error messages appear at the top of the page as shown below. Provide the missing information and try again.
Duplicate an Item
You can duplicate an existing item to save time when you need to add multiple new items that will have the same metadata in most, but not all fields. The duplicate feature will copy the metadata from an existing item into the fields of a new item, but it will not copy:
- The Identifier
- Attached images or PDF files
- Relationships
- Tags
Follow the steps below to duplicate an existing item.
- 1 – View the item you want to duplicate
- Before you can duplicate an item, you have to first view the item using the admin interface. See the instructions above for how to view an item.
- 2 – Click the Duplicate This Item button
-
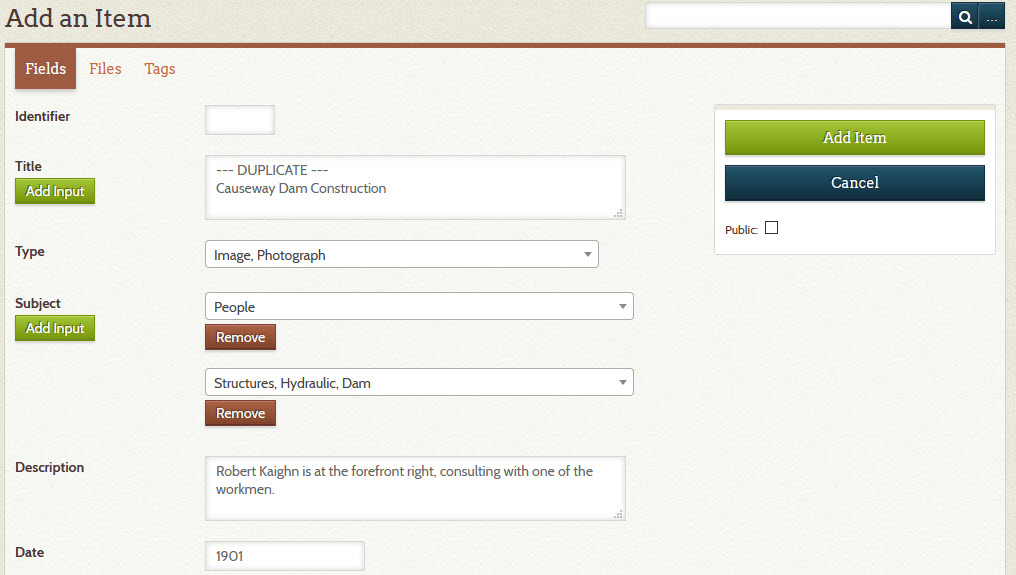
On the item's admin page, click the Duplicate This Item button. After you click the button, the Add an Item page will display as if you were adding a new item, but most of the fields will be filled in with the values from the item being duplicated.
The text
--- DUPLICATE ---will be inserted as the first line of the Title field so you know that you are working on a duplicated item. Delete that text.The Identifier field will be blank. Don't type anything there because an Identifier will get assigned automatically when you save the duplicate by clicking the Add Item.
- 3 – Make changes
- Edit any of the fields on the page that you want to change so that the duplicated item is different than the original.
- 4 – Click the Add Item button
-
When you click the Add Item button, the duplicate item will be added to the Digital Archive.
To create more duplicates, you can either duplicate the original item again, or duplicate the item that you just created.
Delete an Item
Follow the steps below to delete an item.
- 1 – View the item you want to delete
-
Before you can delete an item, you have to first view the item using the admin interface. See the instructions above for to view an item.
Proceed to step 2 below unless the item has S3 files associated with it.
You'll know if the item has S3 files, because instead of seeing the red Delete This Item button, you'll see a faded, disabled button that says something like
Has 3 files - Cannot Delete. If you see the red Delete This Item, it's okay to proceed to step 2.Before you can delete an item that has S3 files associated with it, even if they are not attached to the item, you must first remove all of the files from S3. This ensures that those files don't get orphaned when the item goes away. If it doesn't seem right to delete the files, then reconsider if the item should be deleted.
To delete the S3 files, click the S3 link to view the item's files on AWS. On AWS, select all of the files and then choose Delete from the Actions menu.
Return to the admin Item page and refresh your browser to cause the Digital Archive to check again for S3 files. The red Delete This Item should appear and you can proceed to step 2.
- 2 – Click the Delete This Item button
- On the item's admin page, click the Delete This Item button. When you click the button, a warning dialog will pop up asking if you are sure you want to delete the item. Click the Delete button on the popup dialog.
Warning
When you delete an item, it will be permanently removed from your Digital Archive.
A deleted item cannot be recovered.