Create an Item Set
This page explains how to create an item set. Learn about item sets.
The steps for creating an item set are nearly the same as for adding relationships to an item and so only the differences are expanded upon here.
- 1 – Clear your Flagged Items list
-
- Go to the Flagged Items page
- Click the Clear all link
- 2 – Create an Item Set item
-
- Follow the steps to add a new item
- Choose
Setfrom the Type field's dropdown list - Choose an appropriate Subject
- 3 – Find and flag items that will go into the item set
-
- Search your Digital Archive for items you want to put in the set
- View each item or
- Flag each item
- 4 – Review the items that will go into the set
-
- Go to the Flagged Items page
- Verify that the items you want in the set are there and remove any others
- Click the Relationships link on the item set item created in step 2 above
- 5 – Add the items to the set
-
- On the Relationships Editor page, choose set contains from the dropdown list
- Click the Add button for each of the items in the flagged items list

- 6 – Relate the item set to another Reference Item (optional)
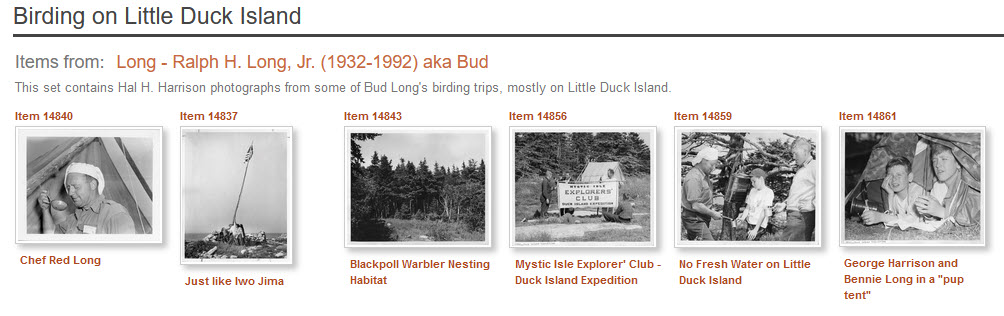
- If you will use the item set to divide a large subject into smaller parts, add a set of relationship from the item set to the parent item as shown in the screenshot above where item set 14853 is a set of item 14849. When viewed, item set 14853 will look like the screenshot below.
Cover images for item sets
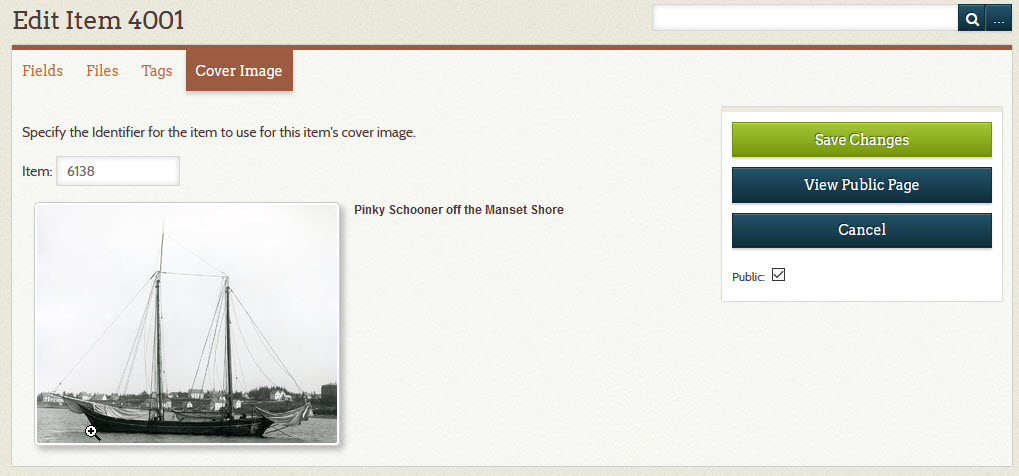
You can use a cover image for an item set the same the same way as you can for a Reference Item. To learn how, see Cover images for Reference Items.
The screenshot below shows the photo for item 6138 used as the cover image for item set 4001.